先日こんなツイートを発見…
まさに魔術のよう…。普段からフォトショを使っている者としては、さわらない訳にはいきません!
ということで、早速インストールしてみました
Stable Diffusion Pluginをインストール
下記GitHubページにアクセスして、少しスクロースし「.ccx」をクリック
GitHub: https://github.com/AbdullahAlfaraj/Auto-Photoshop-StableDiffusion-Plugin
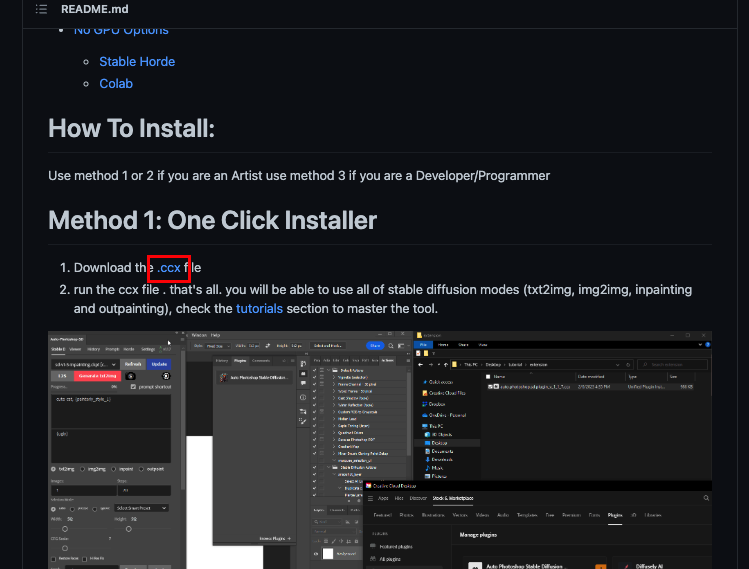
拡張子が.ccxの方をダウンロード
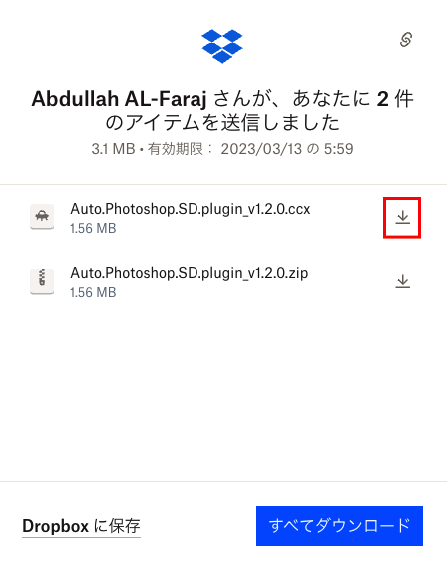
ダウンロードしたファイルをダブルクリック
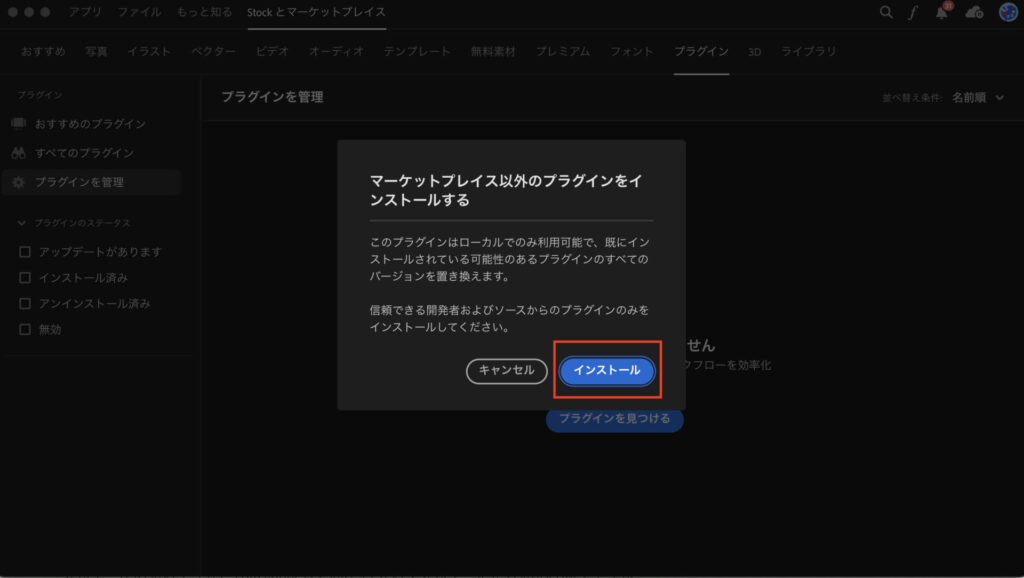
開いたウィンドウで「インストール」をクリック。PCのログインパスワードを入力してインストール
Photoshopを立ち上げると下記のウィンドウが表示されます
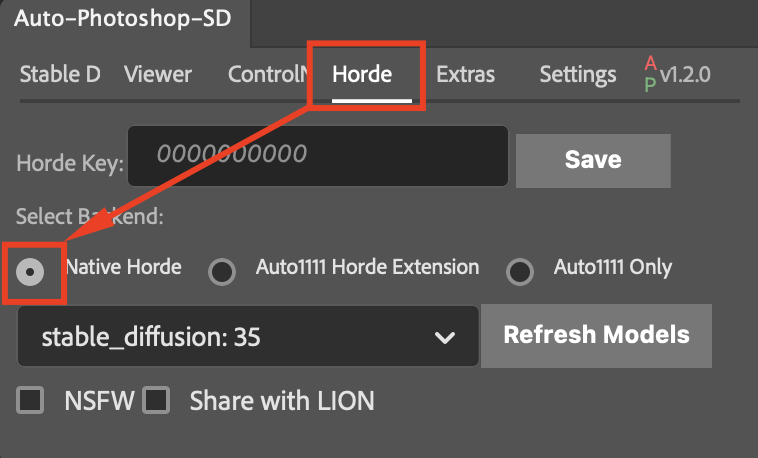
最後に下記の設定を変更します。これで無事インストール完了
Stable Diffusion Pluginを使ってみる
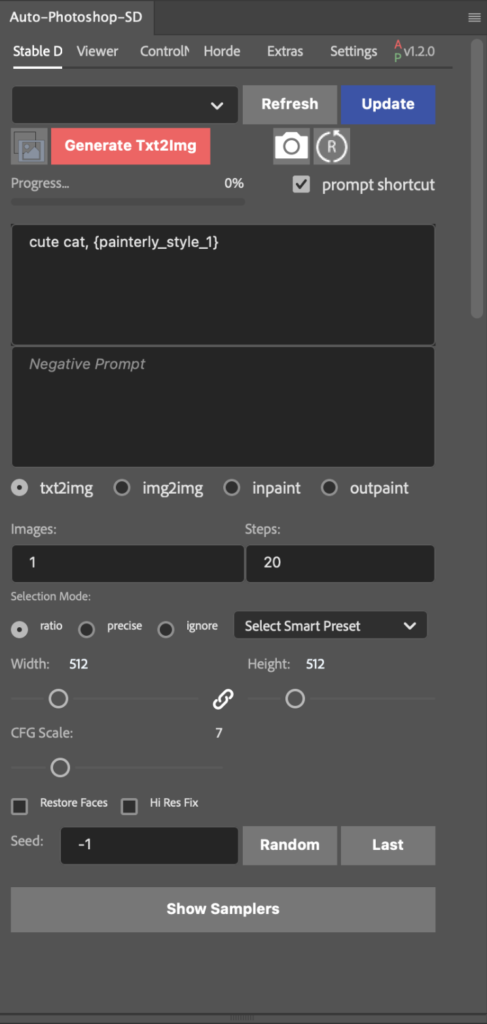
txt2img
まずは画像生成したいエリアに選択範囲を作成します
選択範囲ができたら「Generate Txt2img」をクリック
プロンプトは初期設定「cute cat, {painterly_style_1}」のままやってみます
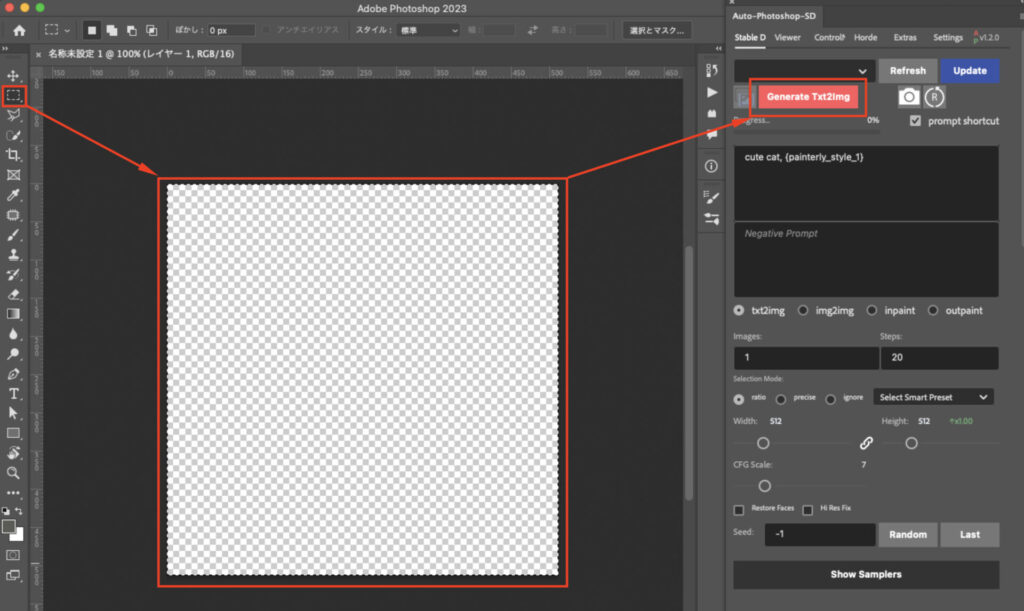
かわいい猫ちゃんが作成されました

img2img
もう少しさわってみます
先ほど作成された画像をもとに、他の画像を作ってみます
作成された画像をレイヤーで選択し、上部メニュー「Viewer」の中の「Set init Image」をクリック
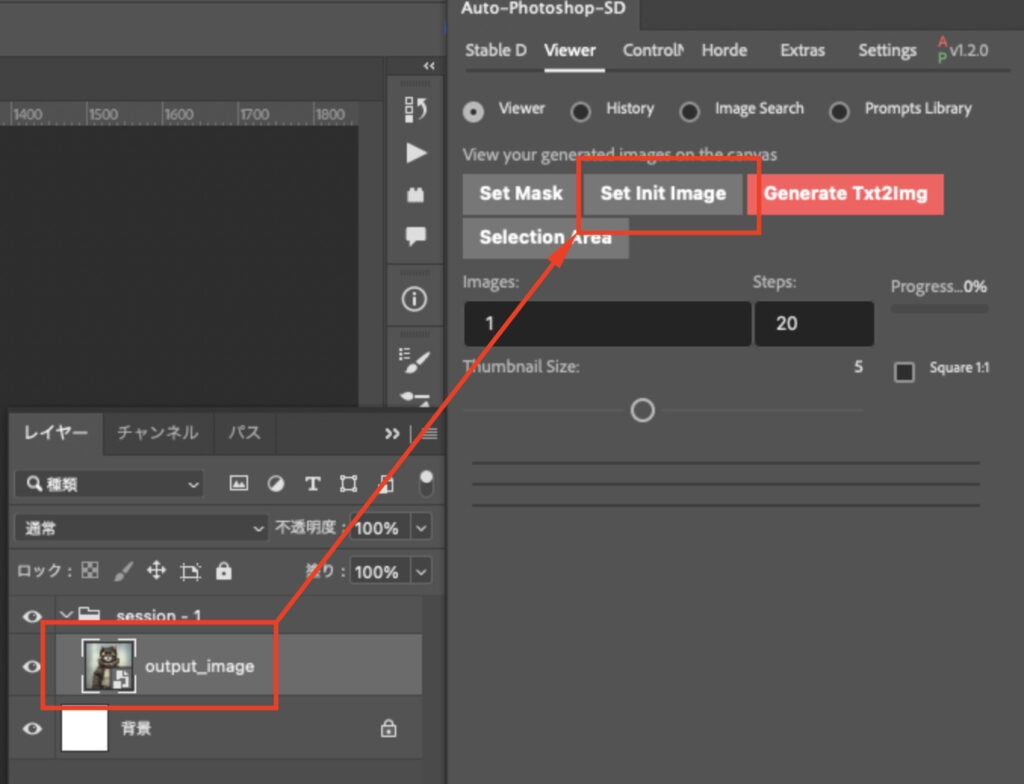
上部メニュー「Stable D」の中の「img2img」を選択、先ほど選んだ猫の画像が表示されています
次にプロンプトを少し変更。「cat」→「dog」にしました
「Generate img2imag」をクリック
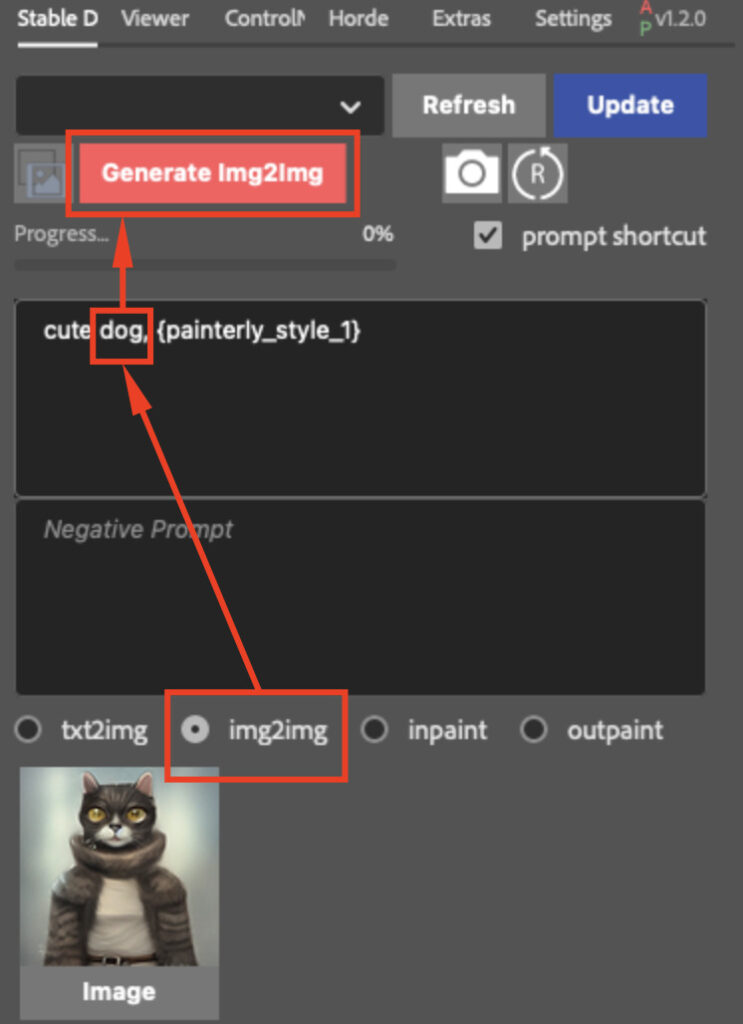
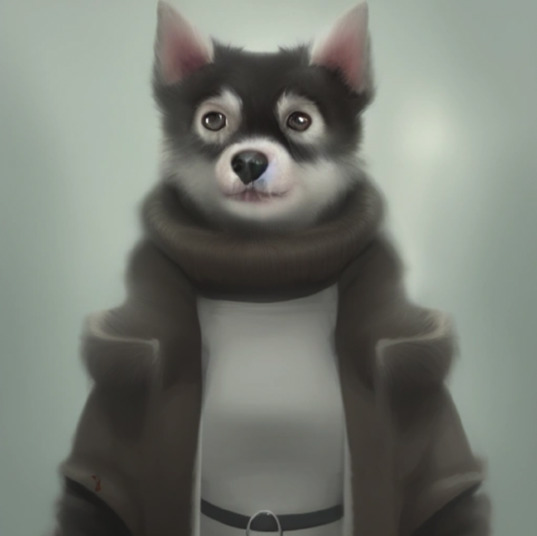
おお!元の画像の構図などは受け継ぎながら、犬くんが作成されました!
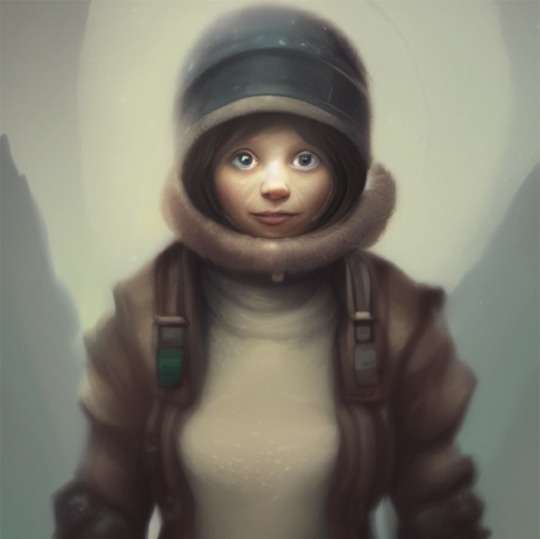
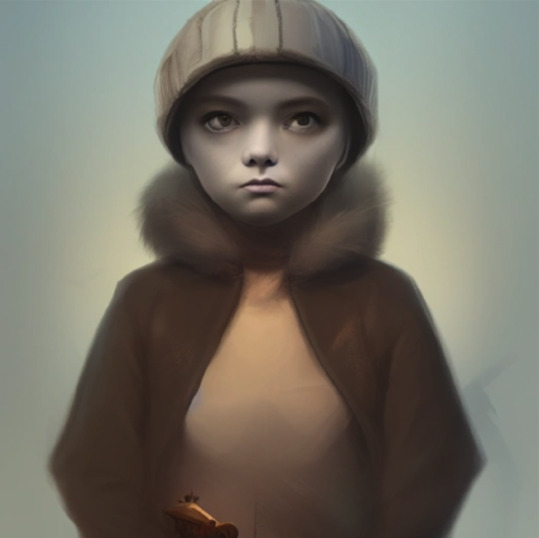
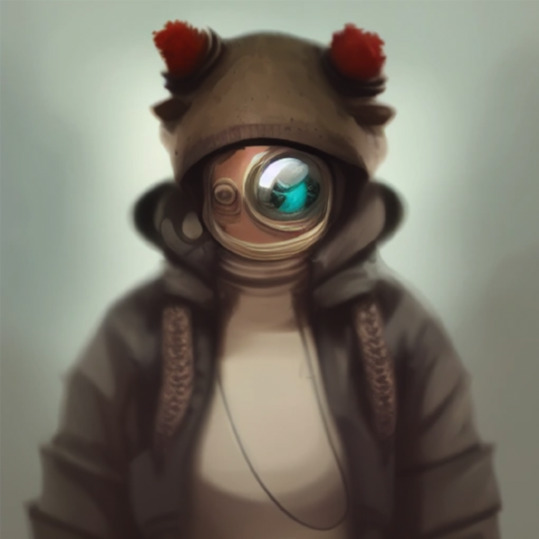
同じ要領で「cat」の部分を違うプロンプトで試してみたのが以下の画像です(画像内のキャプションが変更したプロンプト)
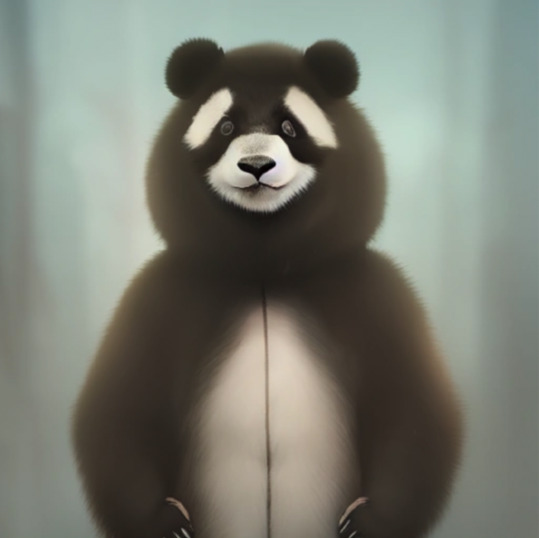
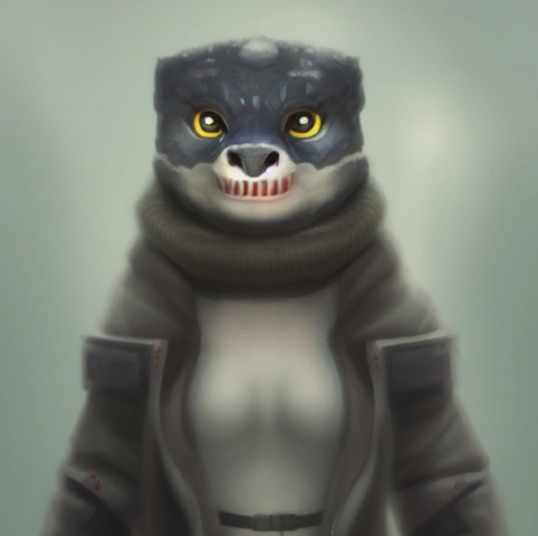
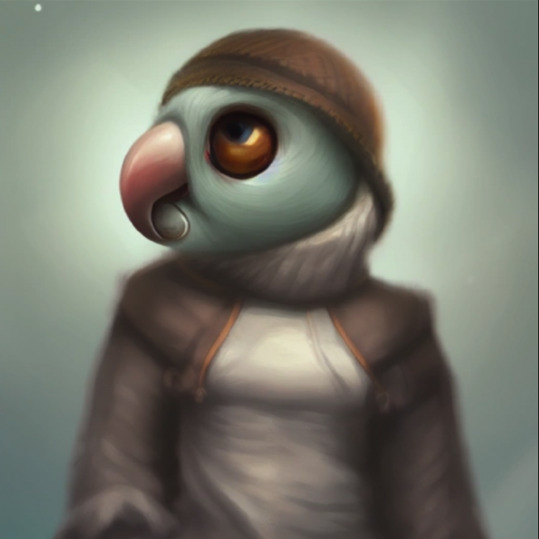
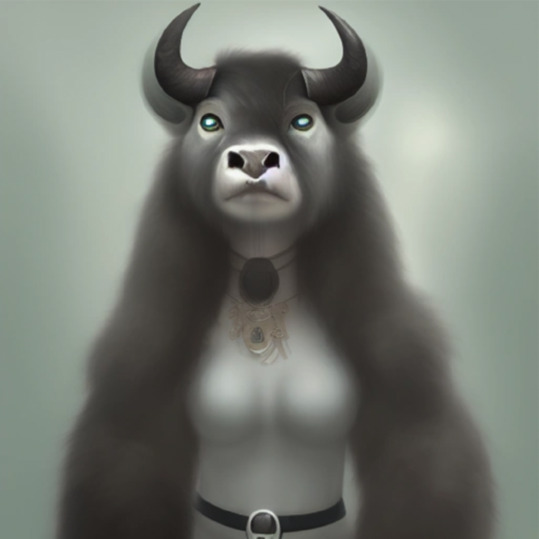
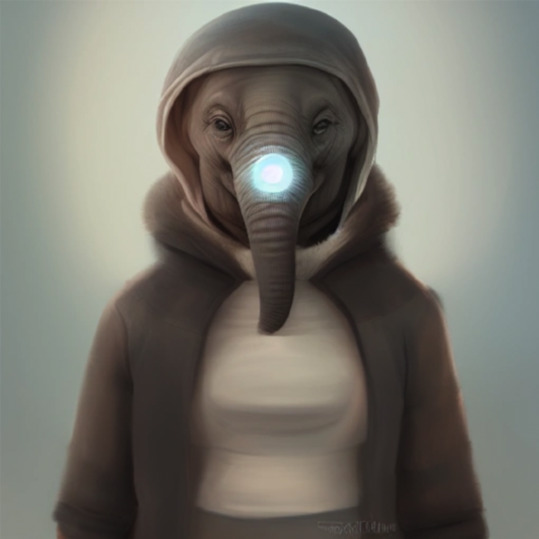
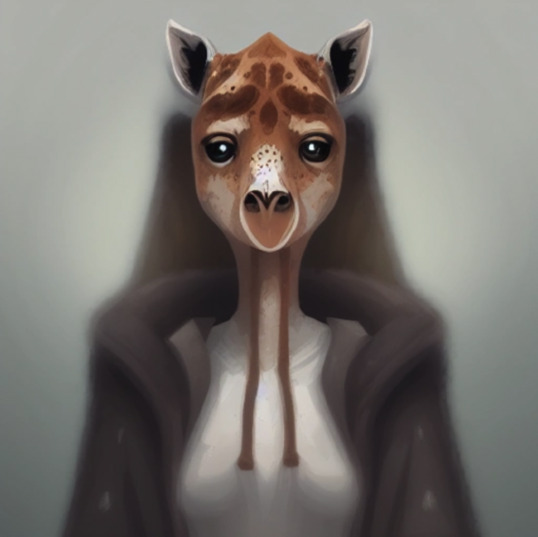
粗さはあるものの、なかなか統一感があっていいですね
失敗しやすいプロンプト
色々とめして1点気づきました
それは、抽象的なプロンプトは失敗しやすい!ということ
例えば下記の画像とプロンプトを見てください
プロンプトと全く関係ない画像が生成されています
fish(魚)、bird(鳥)、dainosaur(恐竜)はイメージが広すぎて定まらなかったのではないかと思われます
金魚、インコ、ティラノサウルスなど、もっとイメージを絞れるキーワードにすることで、失敗が減らせそうです
まとめ
以上がPhotoshopに画像生成AIプラブインをインストールする手順と簡単な使い方です
他の使い方やコツがわかったら、あらためて解説していきたいと思います
不明点などあれば、お問い合わせかTwitterでご連絡ください!
コメント